
As the official WordPress codex explains, a WordPress plugin is a set of functions that adds or enhances the set of features to your WordPress blogs. Plugins can be activated and deactivated through the Plugins screen in WordPress dashboard. If you are a PHP programmer and new to WordPress and wish to know how plugins are developed then read on. This article will take you through the process of plugin development.
What we are creating is a WordPress plugin for social media sharing. What this plugin will do? It will add social media icons of various renowed social media websites like facebook, twitter, digg at the bottom of the post content as shown in the below screenshot. Clicking on this icons will share your post on the social sharing sites.

First step in plugin development is to choose a plugin name. Depending upon what your plugin will do choose a unique name for your plugin. In our case, we will name our plugin ‘Simple social share’.
Next step is to create a folder for your plugin in the plugin’s directory (in standard WordPress installation this would be in wp-content/plugins). Although you are free to choose any name for this folder but for the sake of consistency it is recommended to choose a name that mathces your plugin name. For our case we will name our plugin folder ‘simple-social-share’. Don’t use spaces in the name instead use ‘_’ or ‘-‘ if required.
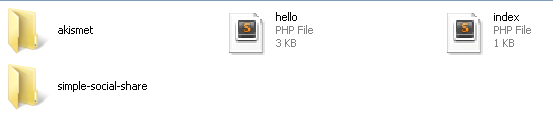
Now next task is to create a PHP file having name derived from your Plugin’s name. So go ahead and create a new php file in this folder and name it ‘simple-social-share.php’.
Add the following plugin information header at the very begining of the file and save your file.
This header helps WordPress recognize that your Plugin exists, add it to the Plugin management screen so it can be activated, load it, and run its functions; without the header, your Plugin will never be activated and will never run.
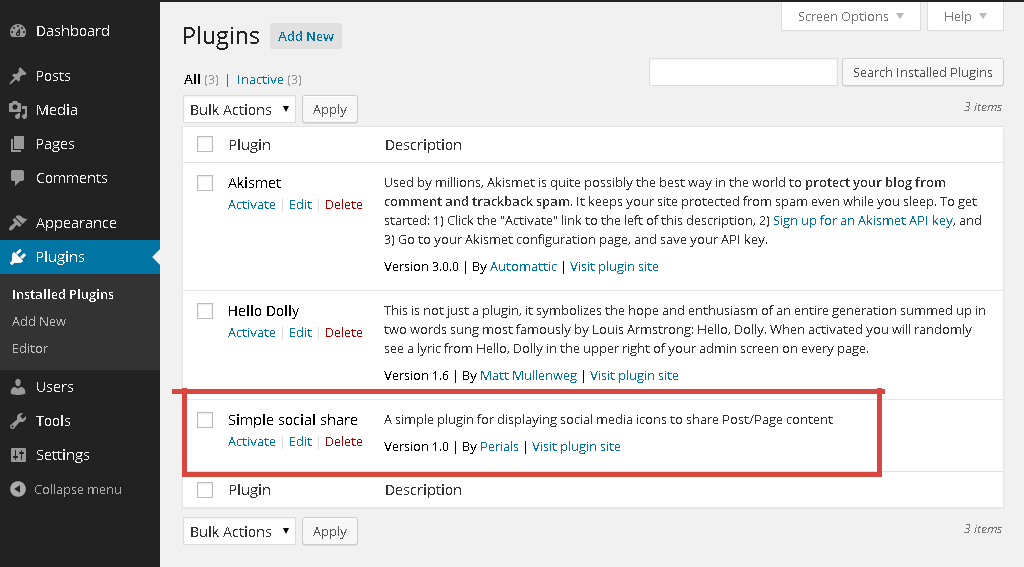
Now if you visit the plugin's page you would see your plugin listed in the available list of plugin as shown below.
Go ahead and activate it.
For now our plugin does nothing since we haven't added any functions yet. So without wasting any time let's get started.We will need following social media icons for our plugin
Digg
StumbleUponYou are free to use any icon of your choice. For styling and performance purpose make sure that all of the icons are of the same size (50x50 preferred though). Also total size of all the icons should not exceed 250kb else it would increase your site's page load time.
Once you have gathered all your icons, create a new folder 'social-icons' in our plugin's folder (i.e. in 'simple-social-share') and place all the png files for the images inside it.
Following is the html markup for creating a menu as shown in the screenshot above


If you observe carefully above code you will notice following two things:
1. All instances of ‘http://www.perials.com’ is the URL of the site/page you wish the buttons to share for.
2. The five instances of ‘Simple Share Buttons’ refer to the title of the page or website that the buttons will be displayed. These are present for the following share buttons:
StumbleUpon
3. '{url-to-our-plugin-folder}/social-icons/{social-media-site}.png' is the url to image iconThis was for a static html page. But for WordPress we will need to make below changes
1. We need to assign the above html markup with changes as pointed in above two points to a php variable. By applying WordPress filter for the content the_content, we will then append this variable to the post/page content. This will display the icons on every post and page right below the place where the content ends./* the php variable that will hold the html markup */ $social_share_icons_html = ''; /* Appending the html markup code to this variable */ $social_share_icons_html = '2. URL will be the permalink of the current post/page displayed
WordPress provides the function get_permalink() for thisSo the above code modifies to
$social_share_icons_html = '3. Title will be the title of the page
This will be retrieved dynamically using get_the_title()$social_share_icons_html = '4. Since the social-media-icons directory will be in our plugin's directory, so we will use plugins_url('social-icons/{social-media-site}.png',__FILE__). Here social-media-site is the corresponding social media site eg. for facebook it will be plugins_url('social-icons/facebook.png',__FILE__). Make sure a image with that name exists.
$social_share_icons_html = '';
Then as pointed in first point applying the filter the_content, we append the varible to the default content.
function add_social_media_icons($content) { $social_share_icons_html = 'With the html markup appended we also need to add our stylesheet. For this we will use wp_enqueue_style.
Create a new stylesheet name 'style.css' in the plugin's directory and copy the below code in it#s-share-buttons img { width: 35px; padding: 5px; border: 0; box-shadow: 0; display: inline; } #s-share-buttons a{ text-decoration: none; display: inline-block; }Now add the below code to 'simple-social-share.php'
function simple_social_share_styles() { wp_enqueue_style( 'simple-social-share-main', plugin_dir_url('style.css') ); } add_action( 'wp_enqueue_scripts', 'simple_social_share_styles' );So putting it all together
function add_social_media_icons($content) { $social_share_icons_html = ''; $content.=$content.''.$social_share_icons_html; return $content; } add_filter( 'the_content', 'add_social_media_icons' ); function simple_social_share_styles() { wp_enqueue_style( 'simple-social-share-main', plugins_url('style.css',__FILE__) ); } add_action( 'wp_enqueue_scripts', 'simple_social_share_styles' );.')
.')
.')
.')
.')
.')
.')
That's it.
Join the discussion
Leave a Reply
thanks so much for your plug in simple social share. For the first couple month using this I have been able to select the photo that goes with the post i am about to share. FOr the last few weeks the photo that pops up when I am writing my post changes and/or is not the same one that shows up in the post. It is important for me to ba able to choose which image is used in the actual post. Any suggestions? Thanks
TOny K